After starting out from Baldy Notch (elevation 7700'), we climb ski runs until we reach Devil's Backbone trail.
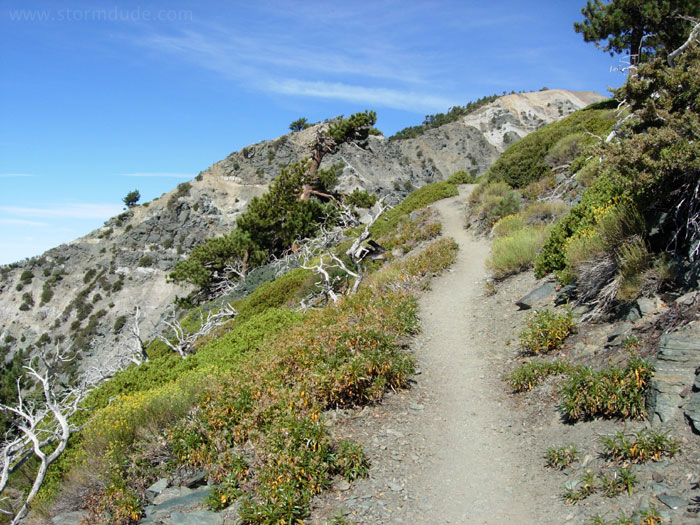
A pleasant August morning at 8,000'.
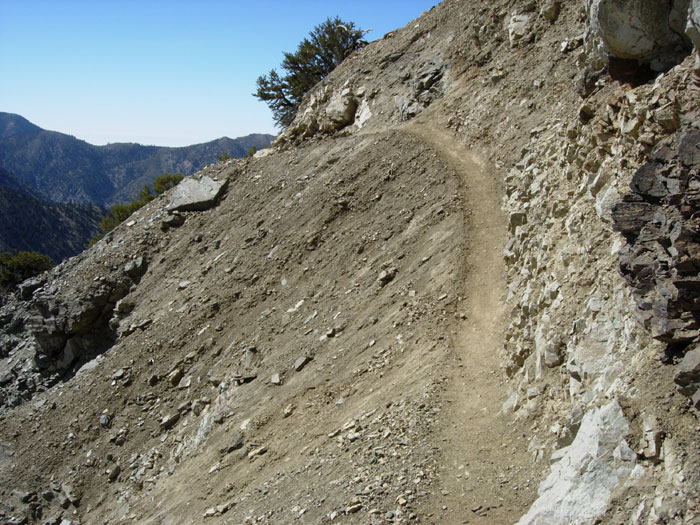
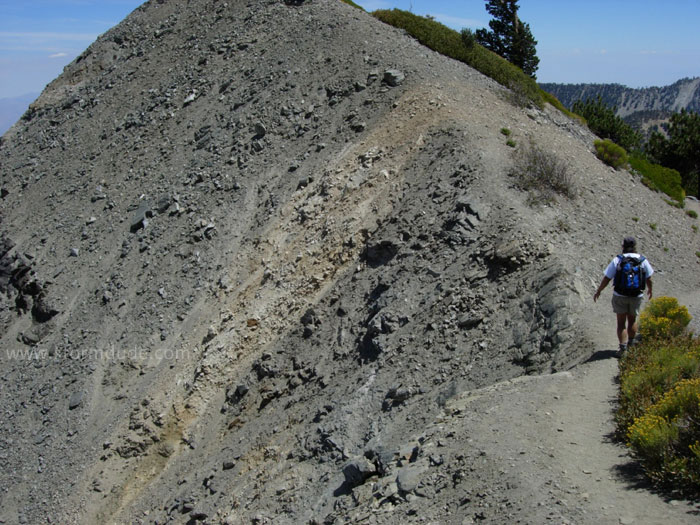
Narrowest part of the trail.
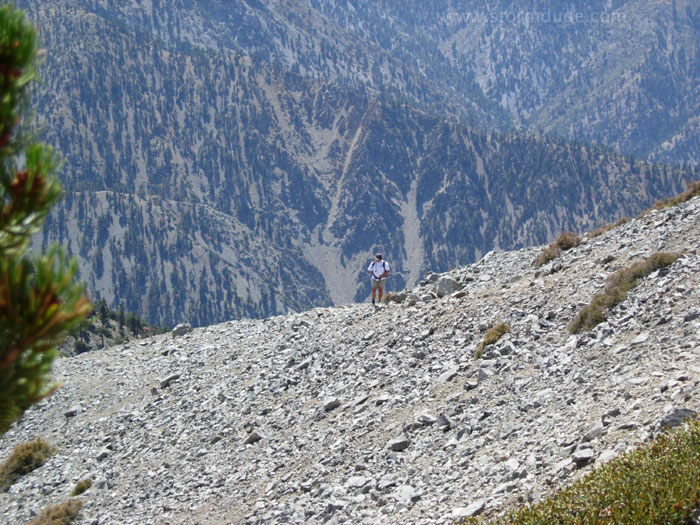
Although the trail is never so narrow that you feel imminent danger, it is still a little spooky to realize that if you slip, it's a long, steep slide down the mountain.
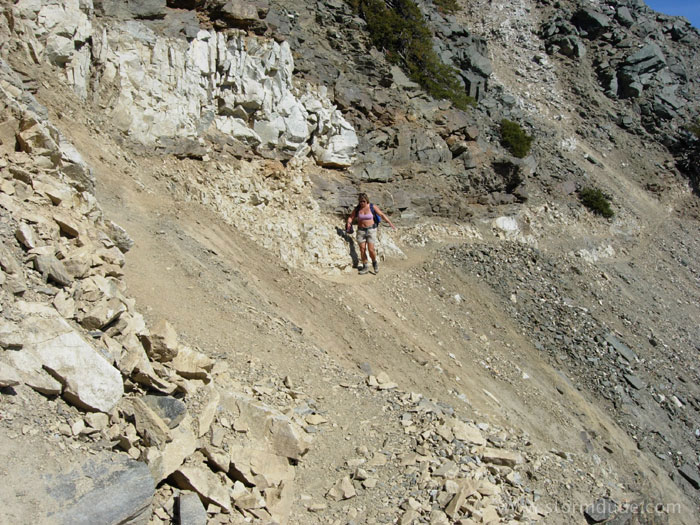
Arms out for balance.
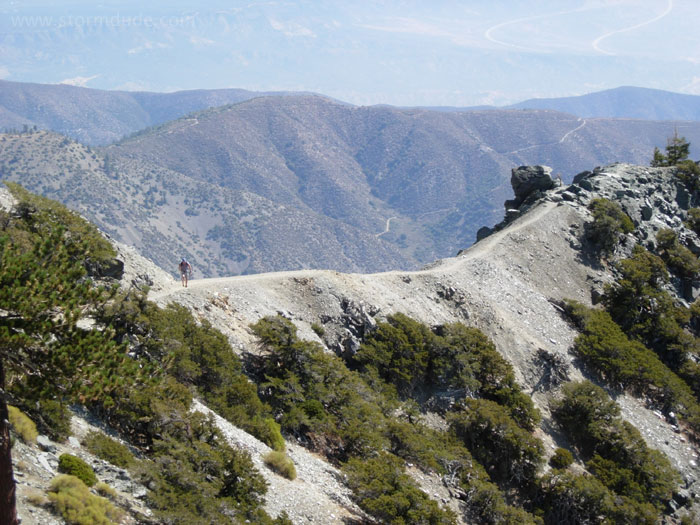
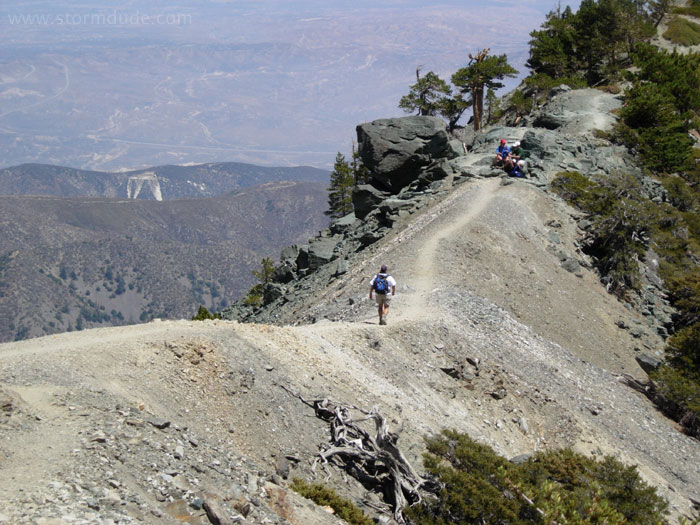
One of several narrow ridges along the Devil's Backbone trail.
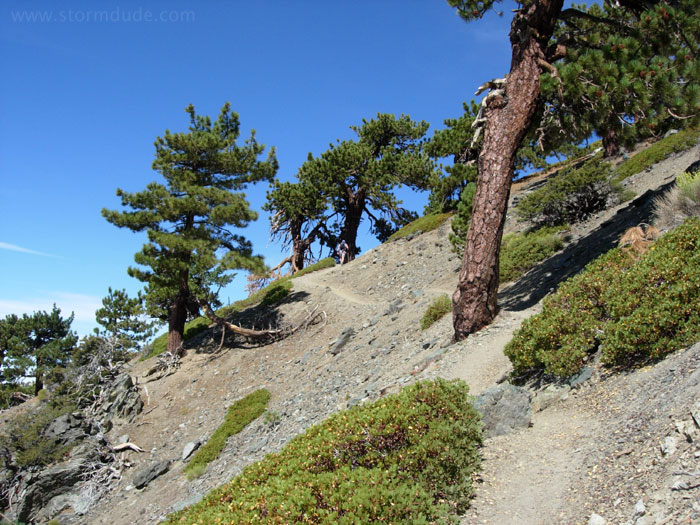
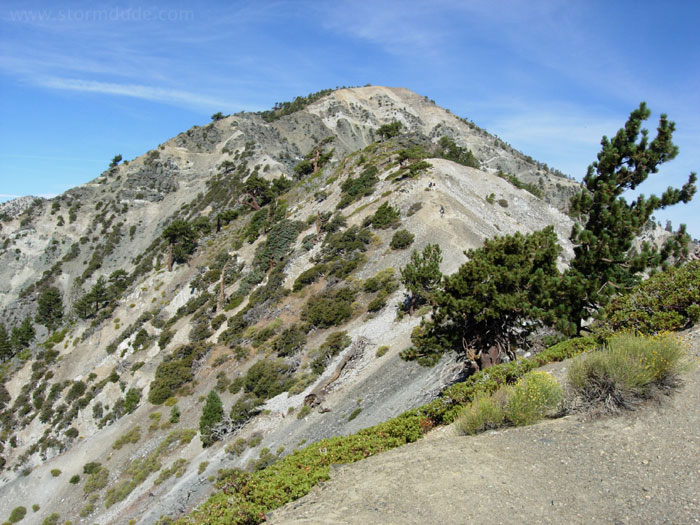
Scenery at 9000'.
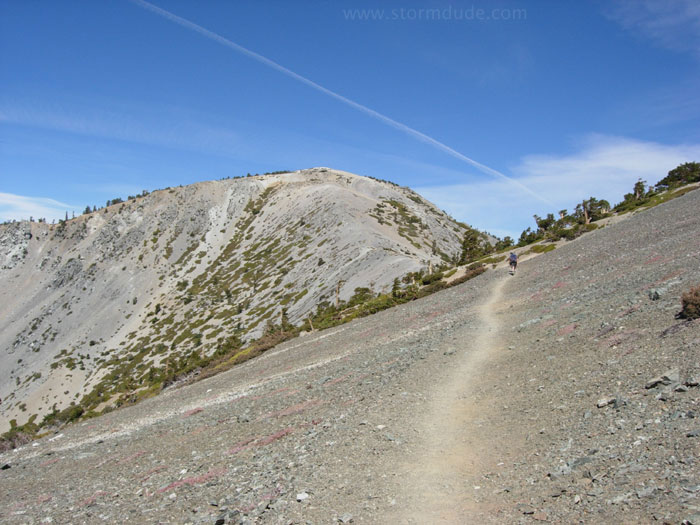
Clear view of Mount San Antonio, aka Old Baldy, elevation 10,064'.
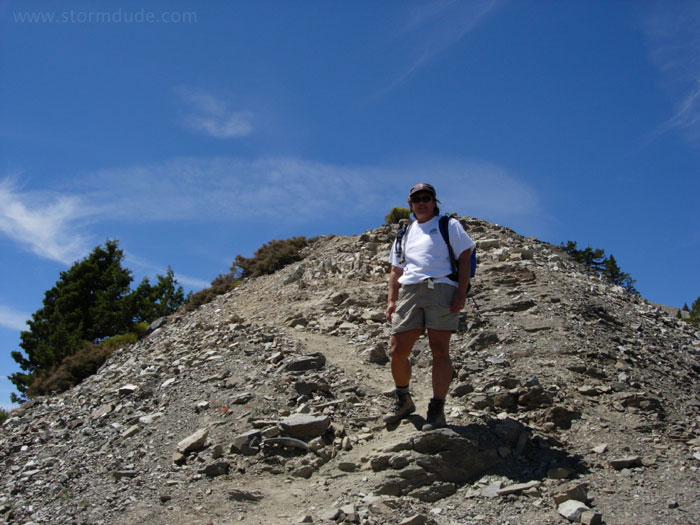
Final push to the summit
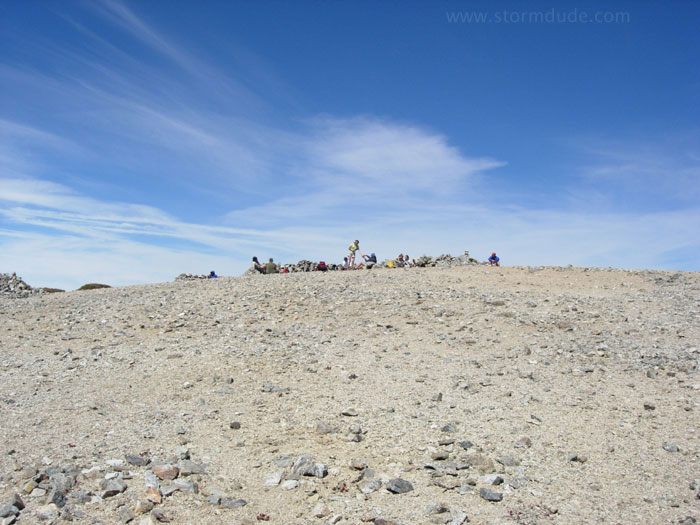
Reaching the top, where a small crowd has already gathered.
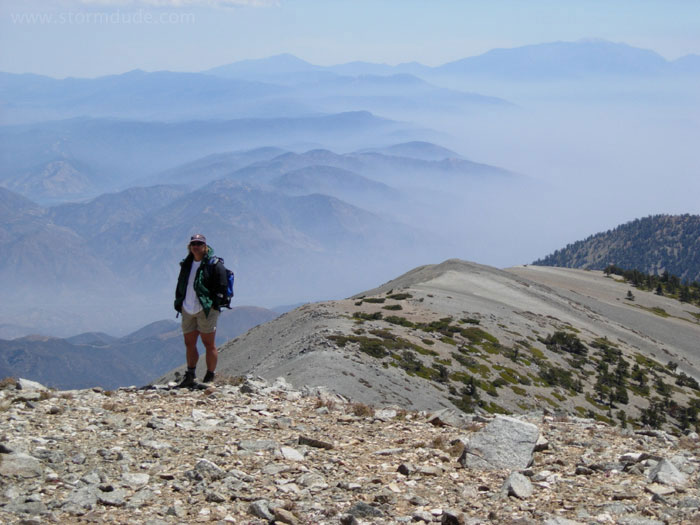
View looking east at the San Bernardino Mountains (including 11,490' San Gorgonio, the tallest mountain in Southern California).
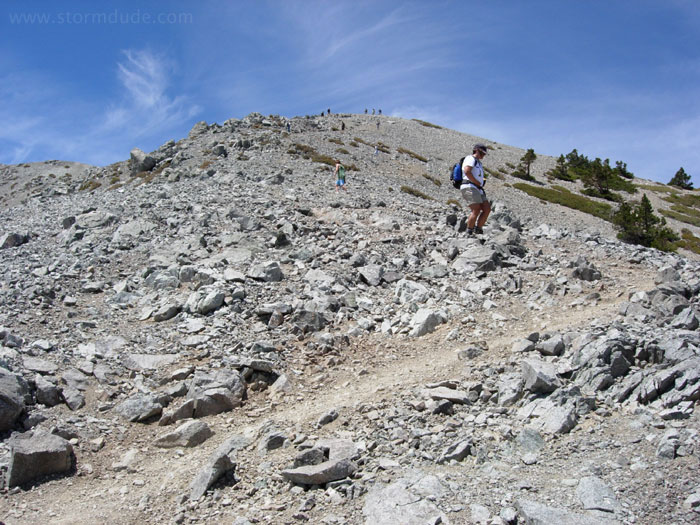
A crowded trail just below the summit.
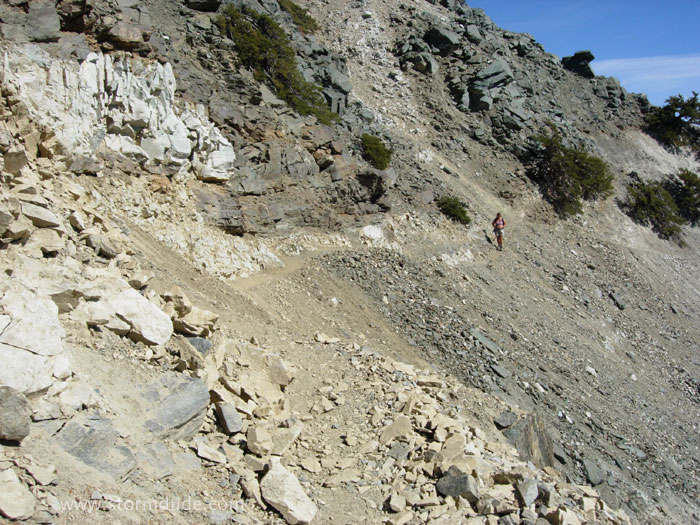
Staying to the right to avoid another very steep drop off.
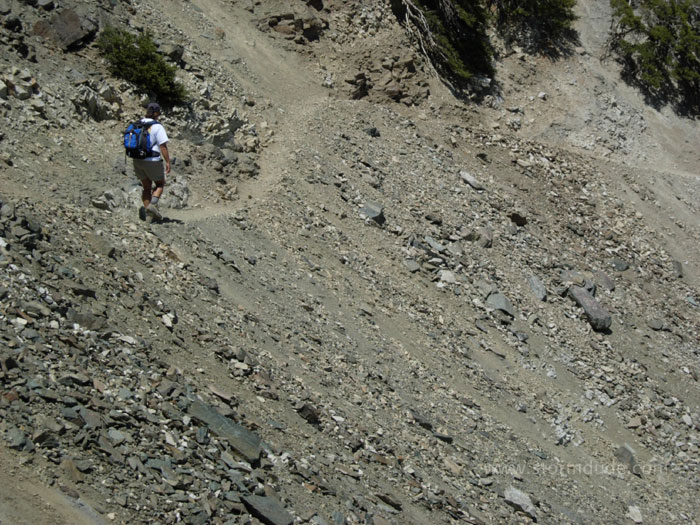
In hiking, balance is everything.
On our way down Devil's Backbone trail.
On the home stretch after our 6.5 mile, 2,300' elevation gain/loss hike.